Blog

The Science Behind Paint Correction: Removing Scratches and Swirl Marks
Paint correction is a meticulous process designed to restore the clarity and shine of automotive paint by removing imperfections such as scratches, swirl marks, and oxidation. For car enthusiasts and professionals alike, understanding the science behind paint correction is essential to achieving a flawless finish. It is not simply a matter of polishing a surface but rather a carefully controlled process that works at a microscopic level to eliminate defects and enhance the paint’s appearance.
Every vehicle’s paint tells a story, with scratches and swirl marks often being the most visible chapters. These imperfections can occur from improper washing, environmental factors, or wear and tear over time. Paint correction offers a way to erase these marks and return a vehicle’s surface to its original condition.
Understanding Scratches and Swirl Marks
Scratches and swirl marks are more than just surface-level issues. They often occur within the topmost layer of automotive paint, known as the clear coat, which protects the underlying paint from UV rays, moisture, and contaminants. When the clear coat is damaged, it scatters light unevenly, causing dullness or hazing.
Swirl marks typically result from improper washing or drying techniques, such as using dirty towels or sponges that trap dirt particles. Automated car washes with abrasive brushes are also a common source. Scratches, on the other hand, can be caused by a range of factors, including tree branches, minor impacts, or debris rubbing against the paint.
The key to paint correction is addressing these imperfections without compromising the integrity of the clear coat. This requires a combination of the right tools, products, and techniques.
The Paint Correction Process
The paint correction process involves several carefully executed steps to remove defects and restore the surface. Each stage is critical to achieving the desired results:
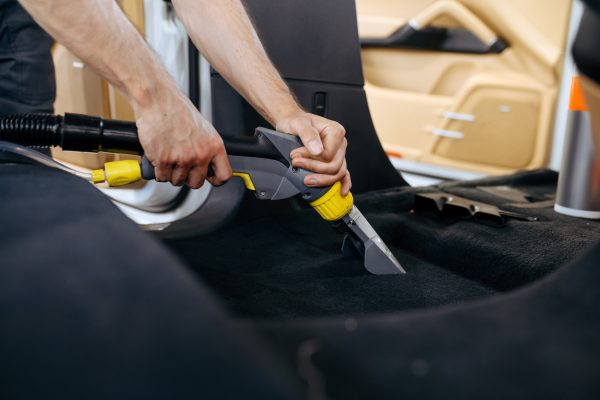
- Thorough Cleaning and Decontamination The first step is to thoroughly clean and decontaminate the vehicle’s surface. This removes dirt, grease, and bonded contaminants that could interfere with the correction process. A clay bar treatment is often used to ensure the paint is smooth and free of impurities.
- Paint Inspection After cleaning, the paint is inspected under specialized lighting to identify the location and severity of scratches, swirl marks, and other defects. This step provides a clear understanding of the work required and helps determine the appropriate tools and products.
- Measuring Paint Thickness Before any corrective action, the thickness of the paint and clear coat is measured. This ensures that too much material is not removed during the process, which could damage the paint.
- Compounding Compounding is the first stage of correction and involves using a cutting compound to remove deeper imperfections. This step smooths out scratches and levels the clear coat, addressing the most severe defects. A rotary or dual-action polisher is typically used for this stage, along with an appropriate cutting pad.
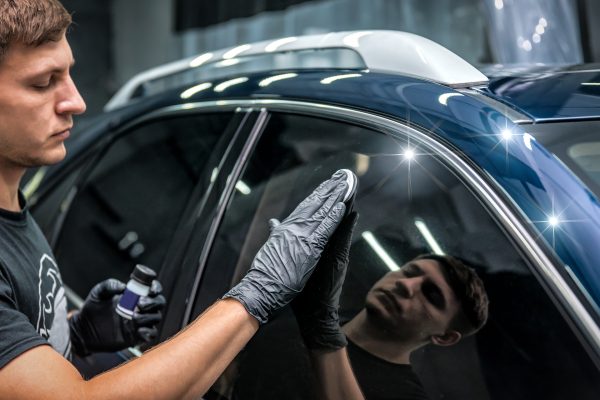
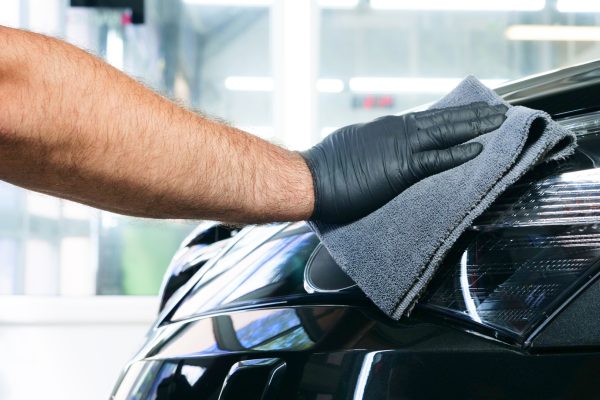
- Polishing Polishing refines the surface after compounding, removing any haze or micro-marring left behind. This step restores the paint’s gloss and depth, leaving a smooth, reflective finish.
- Protection Once the correction is complete, the surface is sealed with wax, a sealant, or a ceramic coating. This protective layer enhances the shine and shields the paint from future damage.
Tools and Products for Paint Correction
The success of paint correction relies heavily on the quality of tools and products used. Polishing machines, such as rotary and dual-action polishers, provide the power and precision needed to work on the clear coat. Compounds and polishes are specifically formulated to break down abrasive particles, smoothing the surface without causing additional damage.
Pads also play a crucial role in the process. Foam pads, microfiber pads, and wool pads are chosen based on the level of correction required. Foam pads are ideal for lighter work, while microfiber and wool pads are used for more aggressive cutting.
Selecting the right combination of pad, compound, and machine is essential for achieving optimal results. Matching the tools and products to the specific needs of the vehicle ensures a balanced approach that preserves the integrity of the paint.
The Importance of Technique
Paint correction is as much about technique as it is about tools and products. Proper application requires balancing pressure, speed, and heat to remove imperfections effectively. Inconsistent pressure or excessive heat can lead to new defects, such as burn marks or uneven surfaces.
The process requires attention to detail, with each section of the vehicle treated systematically. Overlapping passes ensure full coverage, while consistent movement prevents overheating. Precision and patience are key to delivering a flawless finish.
Benefits of Paint Correction
The benefits of paint correction extend beyond aesthetics. Restoring the paint’s clarity and shine enhances the overall appearance of the vehicle, increasing its value and appeal. By removing defects, paint correction also protects the underlying layers from further damage, extending the life of the paint.
A corrected surface is easier to maintain, as contaminants are less likely to adhere to the smooth finish. This reduces the effort required for future cleaning and helps preserve the vehicle’s look over time.
Final Thoughts
Paint correction is a transformative process that requires a scientific approach and meticulous execution. By addressing scratches and swirl marks at the microscopic level, it restores the paint’s original beauty and protects it for years to come. Whether for professionals or car enthusiasts, understanding the tools, products, and techniques behind paint correction is the key to achieving exceptional results.